How to Record Your iPhone or iPad Screen With Your Face on It
Use FaceScreen to put your front or back camera on your iPhone or iPad screen, then record everything with Apple's built-in Screen Recording.
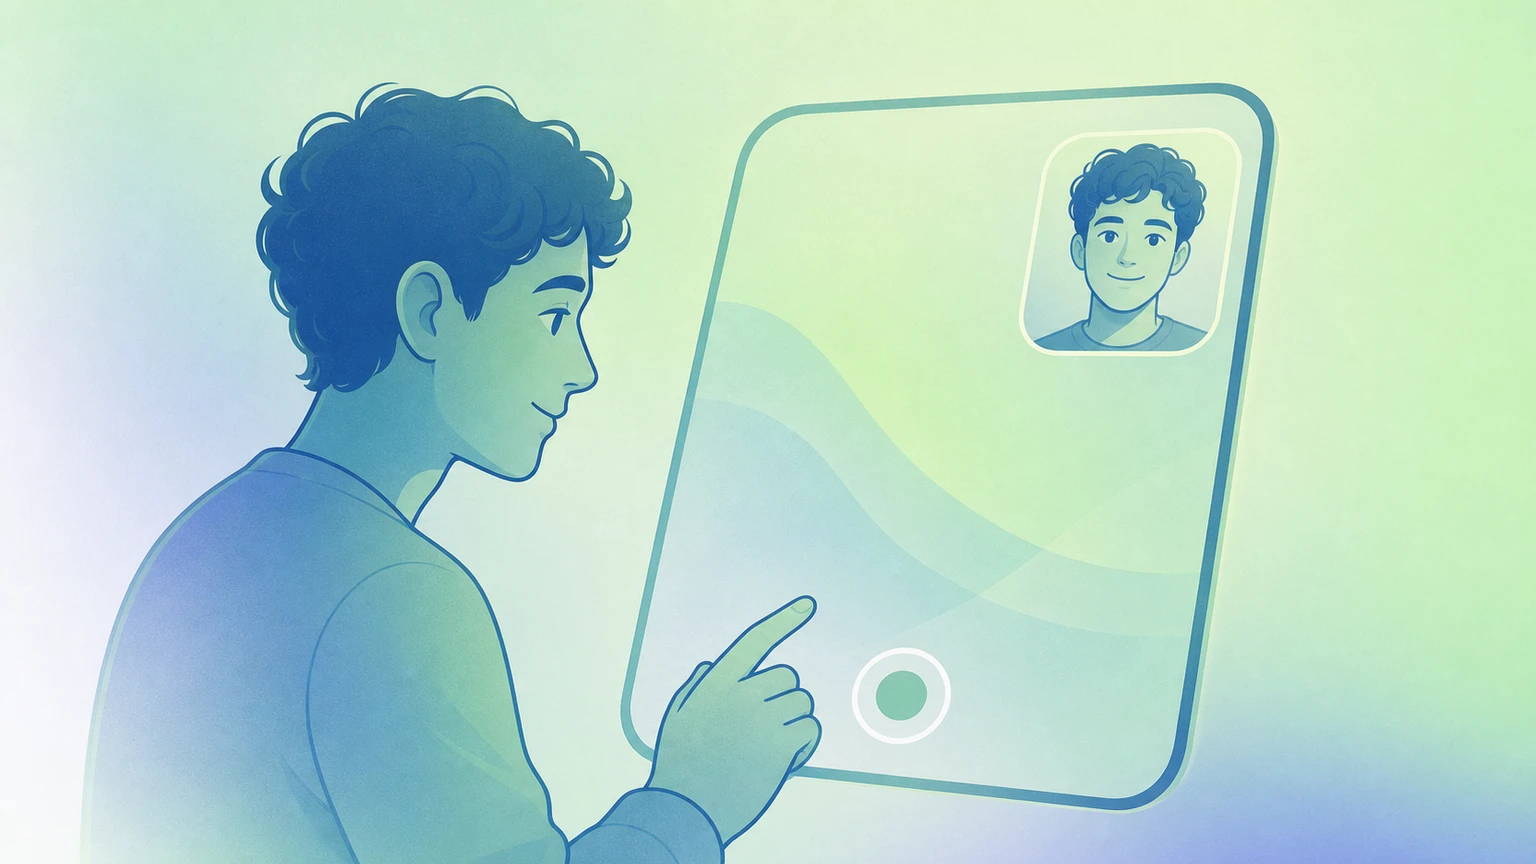
If you have ever tried to record an iPhone or iPad tutorial with your face in the corner, you probably ran into the same problem: iOS can record your screen, and the Camera app can record your face, but putting both together usually means editing afterward or using a limited recorder inside another app.
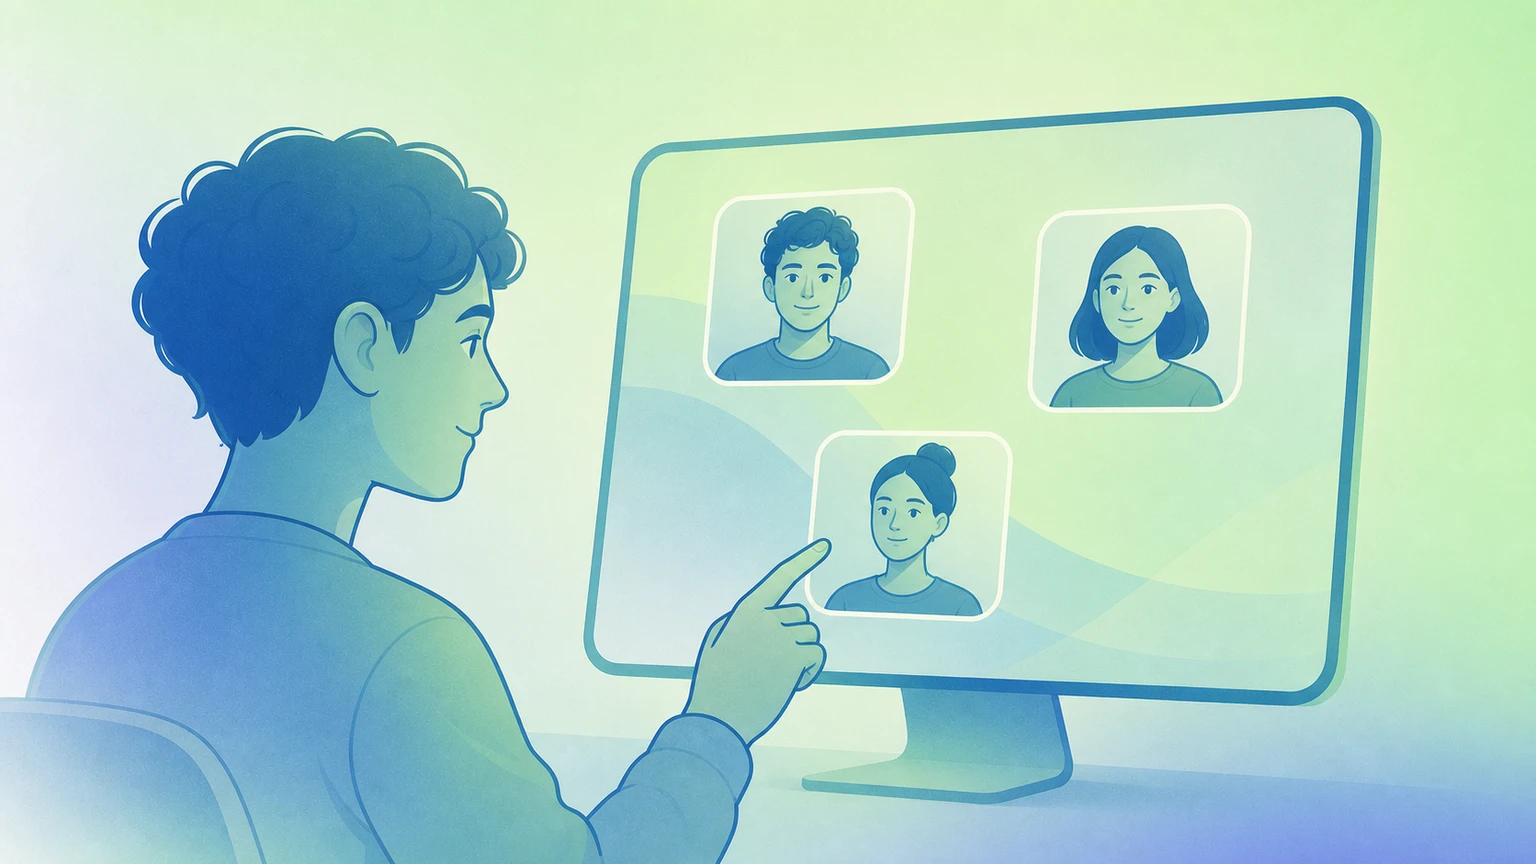
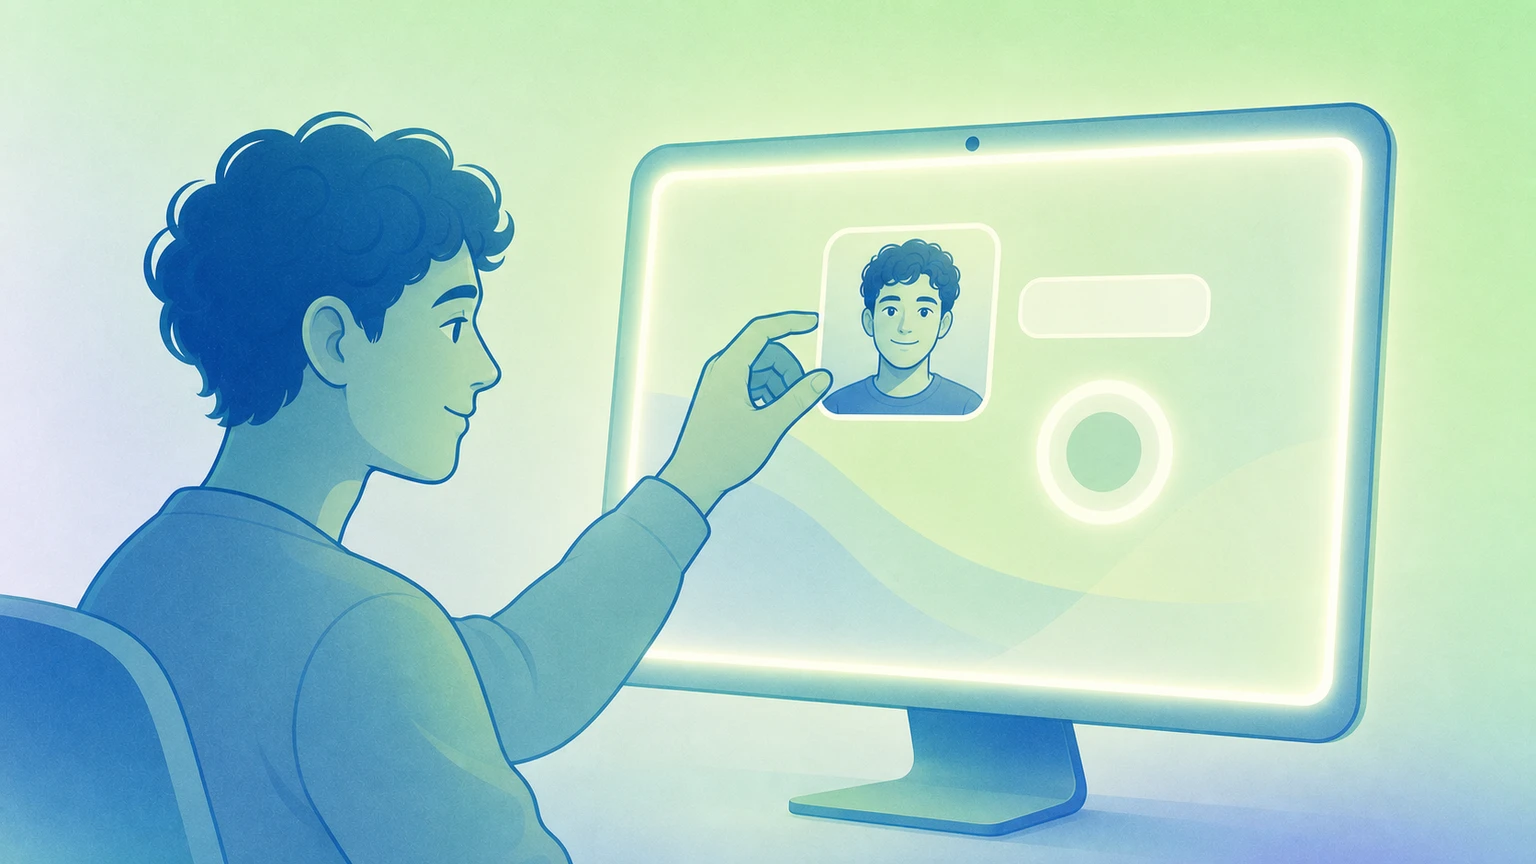
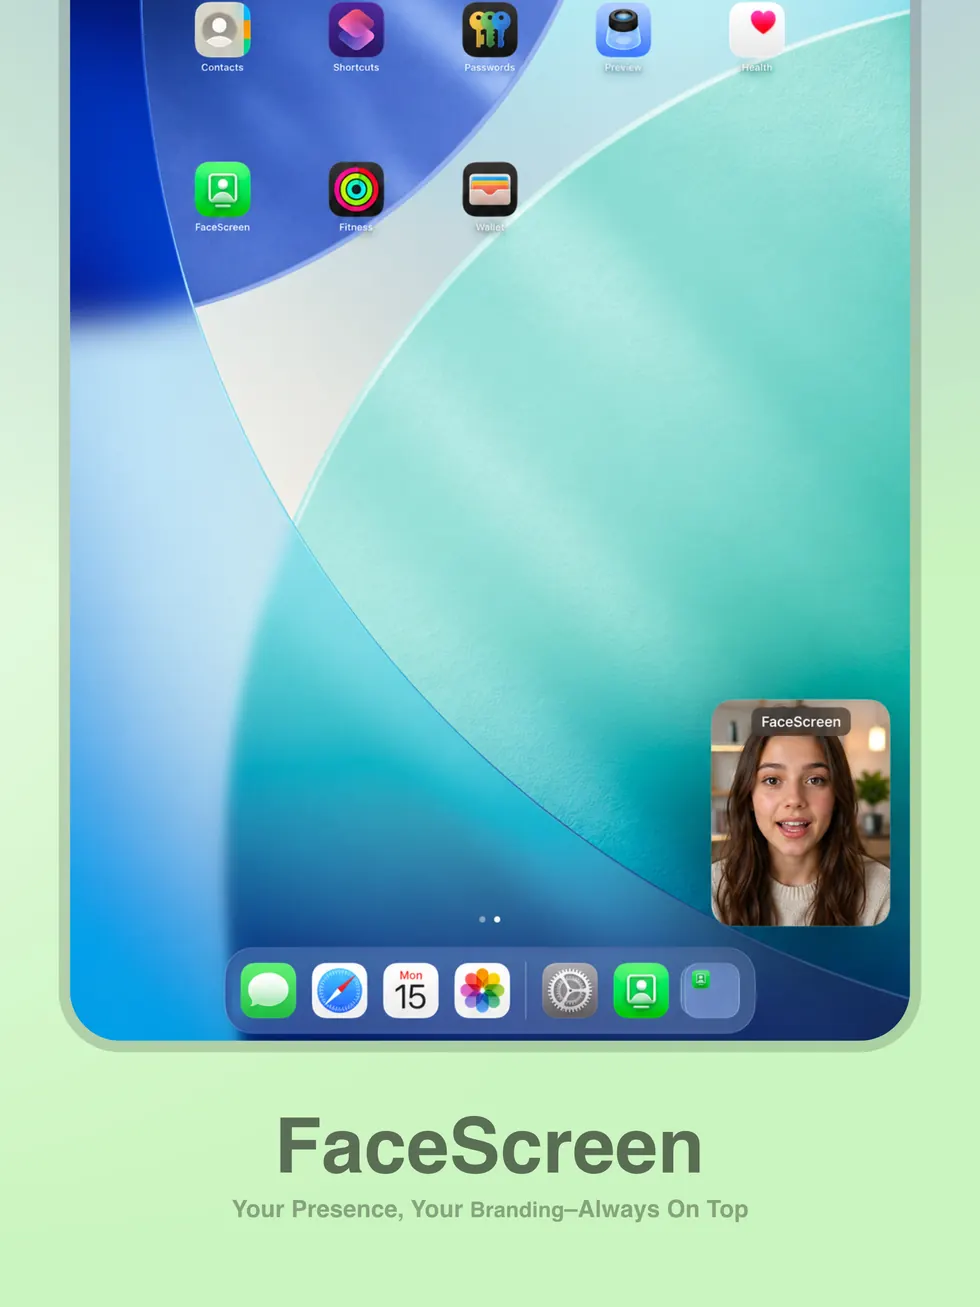
FaceScreen for iPhone and iPad changes that. It lets you place your front camera or back camera directly on screen as a floating picture-in-picture window, then use Apple's built-in Screen Recording to capture your screen and camera view together.
The simple way to record your screen with your face
FaceScreen is the first of its kind app for iPhone and iPad: a lightweight, native camera overlay that can sit above your normal screen while you record with the default iOS or iPadOS screen recorder.
That difference matters. Other apps on the App Store may let you record a camera video, or record a screen inside their own workflow, but FaceScreen is designed around the built-in Apple screen recorder. Open FaceScreen, place your camera view where you want it, start Screen Recording from Control Center, and your iPhone or iPad captures the screen with your face already on it.
It works especially well for:
- App walkthroughs and tutorials.
- Reaction videos.
- Website reviews from Safari.
- Product demos for mobile apps.
- Support videos where viewers need to see both the steps and the person explaining them.
- Social clips for YouTube Shorts, Instagram Reels, TikTok, LinkedIn, and X.
Why the launch went viral on X
The launch demo went viral on X because it showed a workflow people expected iPhone and iPad to have already: record the screen, keep your face visible, and skip the editing step.
That is the part that clicks instantly. You do not have to export a screen recording, import it into a video editor, add a separate face cam, resize it, sync it, and render again. FaceScreen puts the camera view on screen before you record, so the final video already has the presenter in it.
Use the front camera or back camera
Most screen recordings need your face, so you can use the front camera as a floating face cam. But FaceScreen also lets you switch to the back camera when the recording needs to show something in the real world, like a desk setup, product, drawing, device, or quick physical demo.
Switching cameras is built into the app, so you can set up the camera view that fits the recording instead of changing your whole workflow around the camera.
Customize the camera view before recording
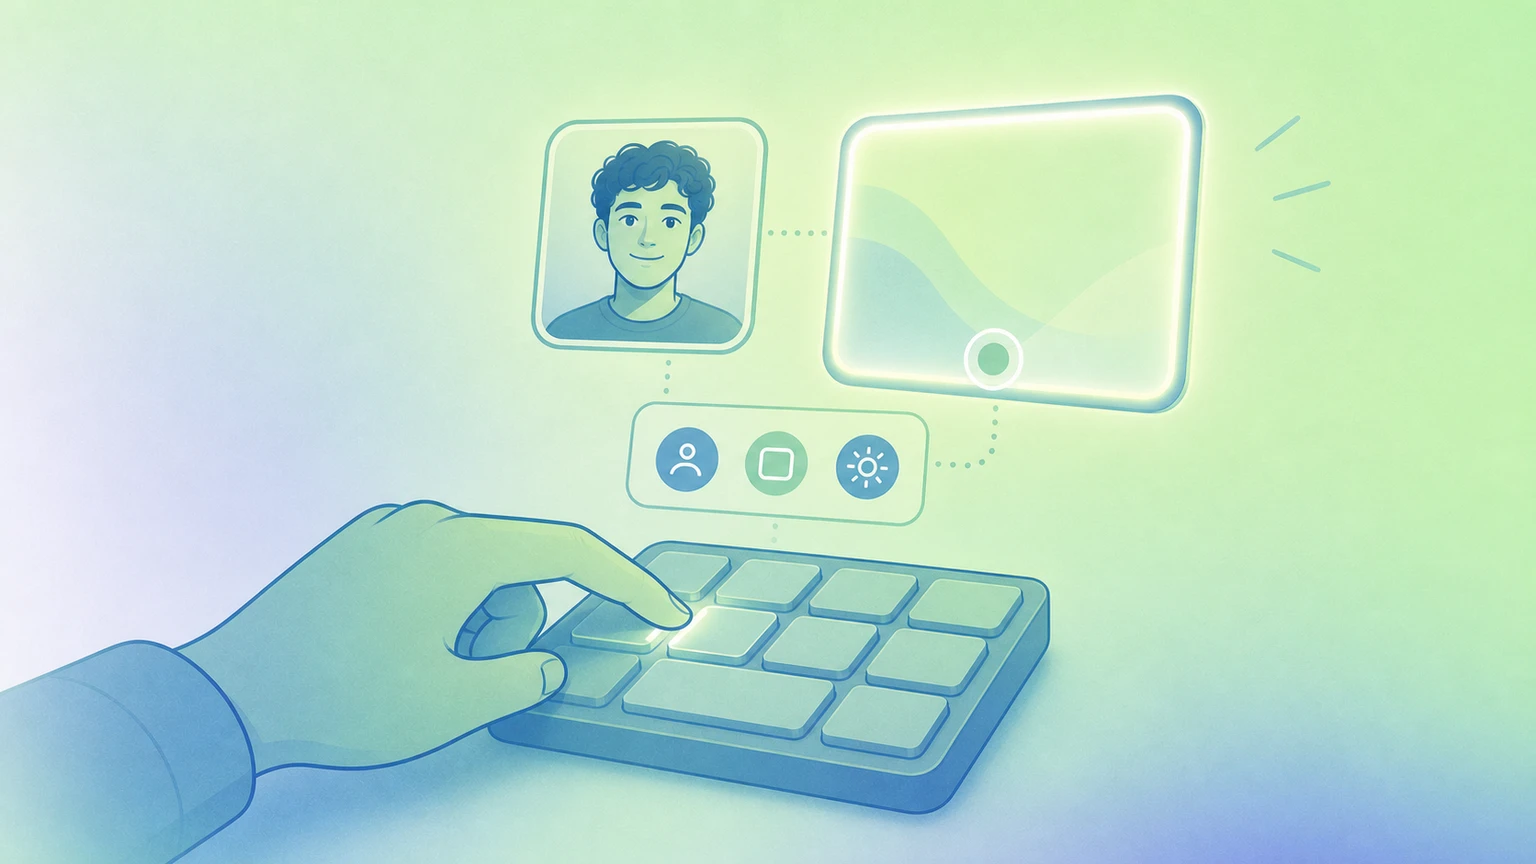
FaceScreen gives you the controls you would expect from a proper creator tool, but keeps them simple enough for quick recordings.
You can adjust:
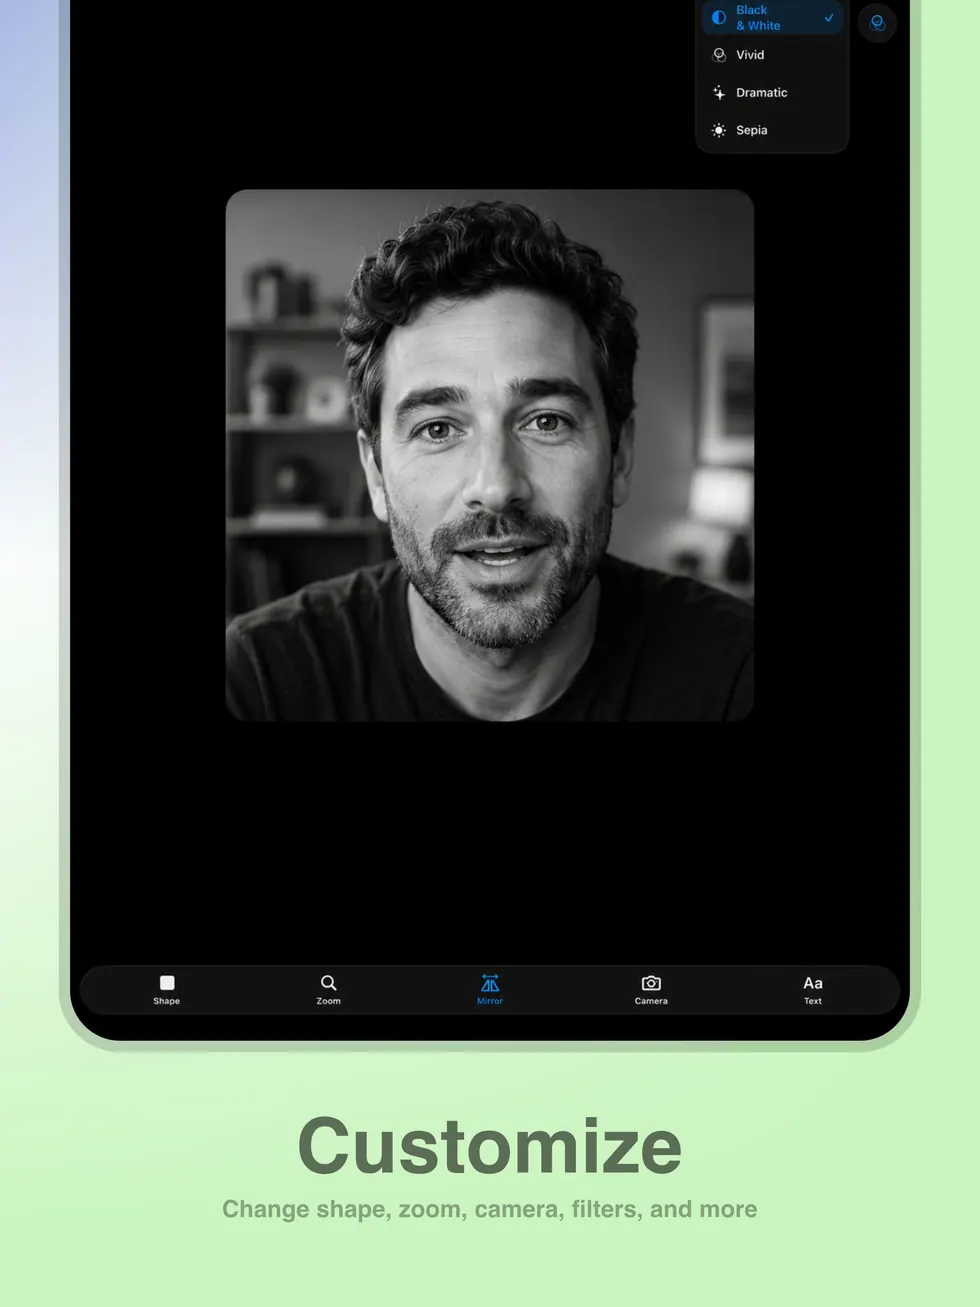
- Shape: choose the camera window style that fits your video.
- Size: make the camera view subtle or prominent.
- Zoom: crop closer when your face should fill the bubble.
- Mirroring: keep the front camera feeling natural when you want it mirrored.
- Front or back camera: switch based on what the recording needs.
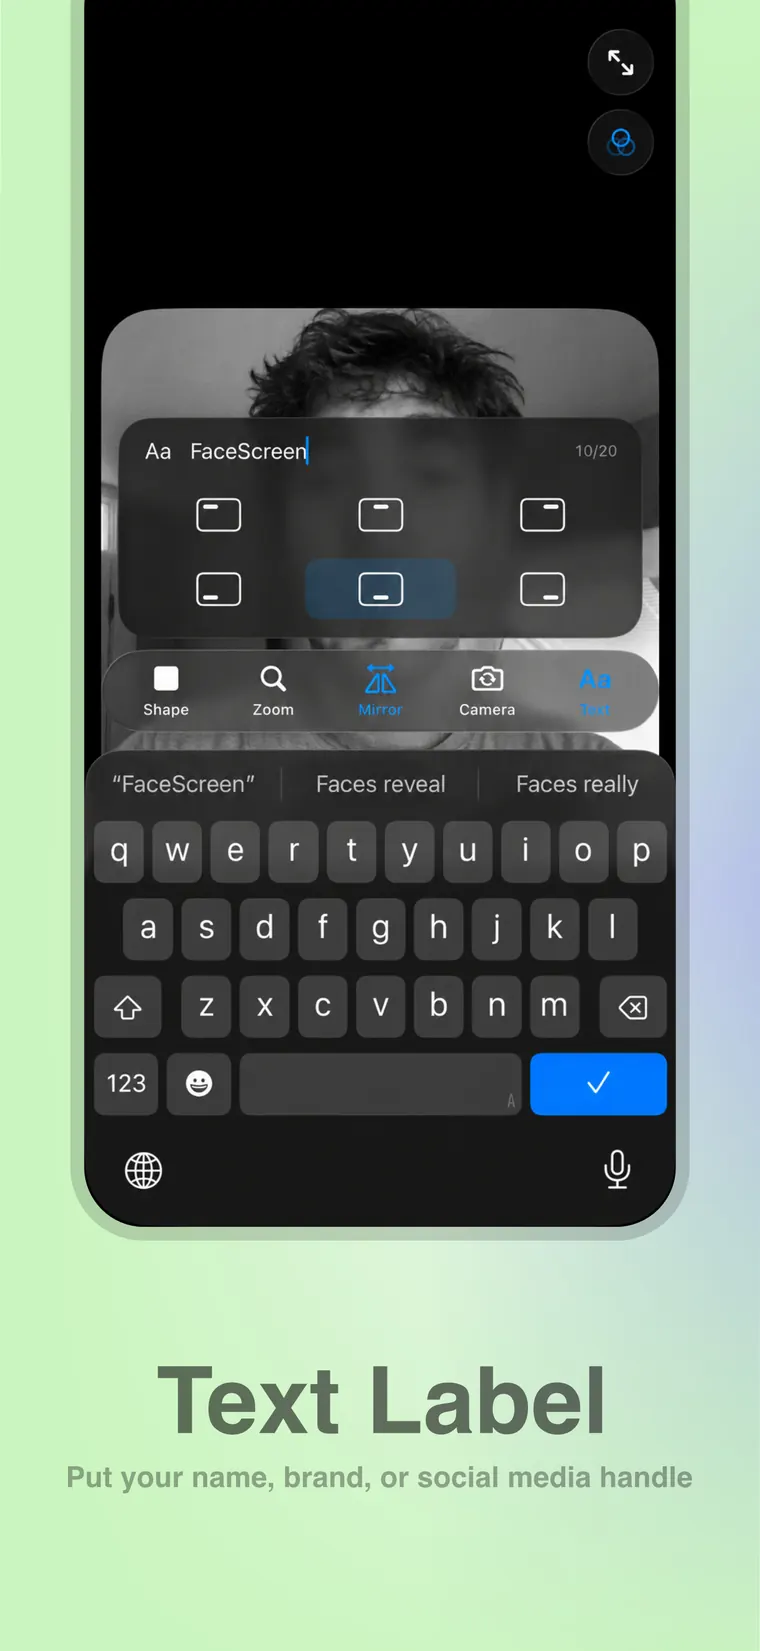
- Text label: add your name, brand, website, or social handle inside the camera picture-in-picture window.
- Filters: tune the look before you start recording.
- Full screen: use the camera view as the main visual when the moment calls for it.
Add a name, brand, website, or handle
The text label is one of the small details that makes a mobile screen recording feel more finished. If the video gets shared outside your own audience, viewers can still see who made it, what brand it belongs to, or where to find you.
That is useful for public clips, course videos, app demos, and social posts. Instead of adding a lower third later, you can keep the label right where people are already looking: next to your face.
Native, lightweight, and made for quick recordings
FaceScreen is built as a native app, so the experience stays fast and focused. There is no heavy recording studio to learn when all you want is a clean screen recording with your camera on top.
The workflow is intentionally short:
- Open FaceScreen on iPhone or iPad.
- Choose the front or back camera.
- Adjust the shape, size, zoom, mirroring, filter, and label.
- Start Apple's built-in Screen Recording.
- Record your app, website, tutorial, reaction, or demo.
Buy once for iPhone, iPad, and Mac
FaceScreen is available on the App Store, and the purchase works across Apple platforms. If you buy FaceScreen on iPhone or iPad, you also get the Mac app. If you buy the Mac app from the App Store, you also get the iPhone and iPad app.
Use the same Apple ID and download FaceScreen from the App Store: FaceScreen on the App Store.
For creators, educators, founders, reviewers, and support teams, this makes FaceScreen a simple cross-device tool: your Mac, iPhone, and iPad can all record with a polished camera overlay.